How to Change Time Interval on TradingView Charts (Fast)
Getting comfortable with switching timeframes in TradingView is one of the first and most crucial skills you'll use every day. It doesn't matter if you're watching every tick on a one-minute chart or sizing up the big picture on a weekly view; knowing how to hop between time intervals quickly makes your analysis smoother and your decisions sharper.
I've been trading on TradingView since 2021, and the one thing I tell every new trader is to learn the shortcuts before anything else. Back when I was scalping SPY in the mornings, being able to switch from a 1-minute to a 5-minute chart in under a second saved me from missing entries more times than I can count. I still haven't found a faster way to jump between timeframes than those keyboard shortcuts.
What Are Time Intervals on a Chart?
A time interval (or timeframe) is the amount of trading time each candle or bar on your chart represents.
Think of it like this:
- A 5-minute candle packs all the price action from a 5-minute period into a single candle.
- A daily (1D) candle does the same for an entire trading day.
TradingView gives you a huge range of these, so you can zoom in for a super detailed look or zoom out to see the long-term trend. The real power comes from being able to look at several timeframes at once—it helps you confirm if a move on a small chart is actually meaningful or just a temporary blip.
Easy Ways to Change Timeframes on TradingView
The Simple Toolbar Method
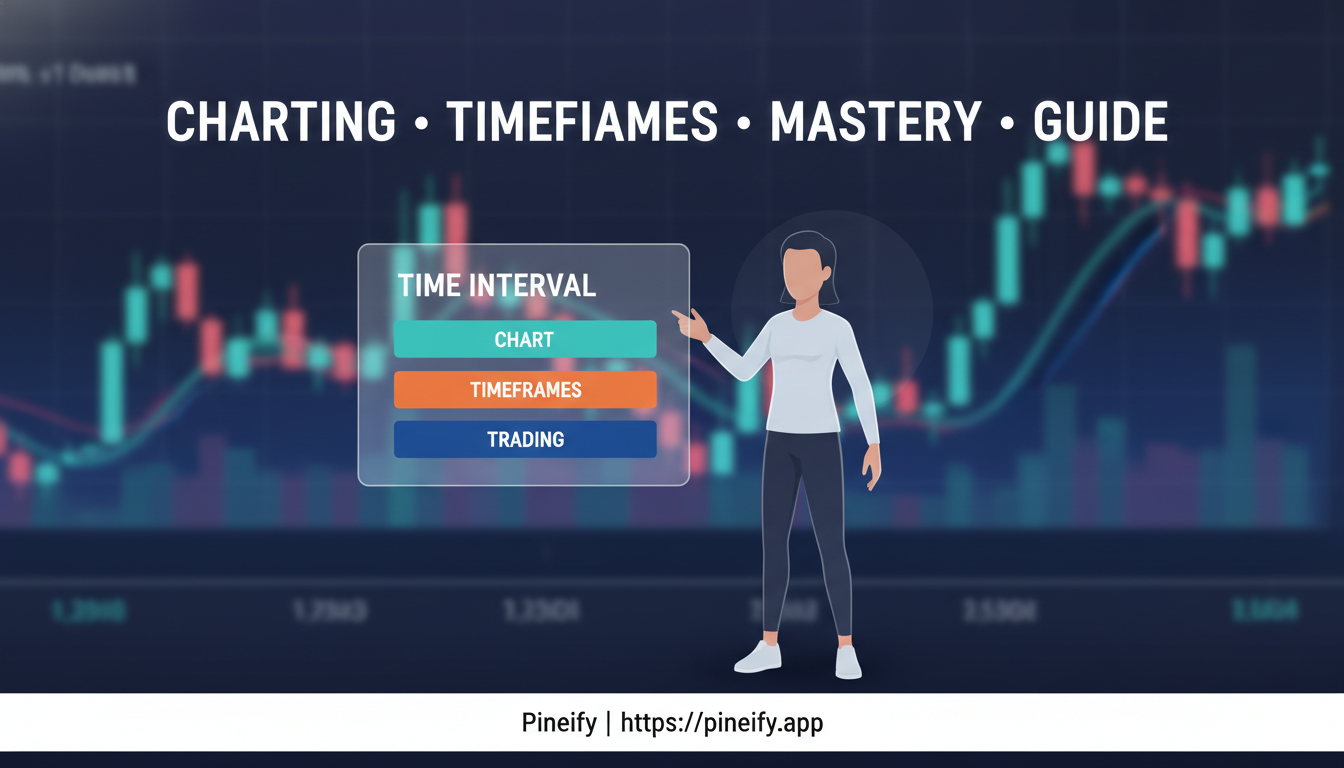
The easiest way to switch your chart's timeframe is using the toolbar at the top left of your TradingView chart. Just click the button that shows your current timeframe (like "1H" for 1-hour), and a menu pops up with all the ready-to-use options. You'll find everything from quick 1-minute charts all the way up to monthly views. This is perfect if you're new to TradingView and want to click around to see what's available.
Keyboard Shortcuts for Super Quick Changes
If you're constantly checking different timeframes, you'll love the keyboard shortcuts. Just type any number and hit Enter to jump to that minute chart. Type "5" and press Enter for a 5-minute chart, or "60" for a 1-hour view. For daily charts, type the number followed by "D" - like "1D" for daily or "5D" for five days. Use "W" for weekly views ("1W") and "M" for monthly ("1M" or "3M").
I rely on these shortcuts every session. Honestly, once you get them into muscle memory, clicking the toolbar feels slow.
The Direct Click-and-Type Approach
Here's a handy middle ground - you can click directly on the timeframe number shown on your chart and type what you want. It's as visual as the toolbar method but almost as fast as keyboard shortcuts. Just click the current timeframe, type your new preference, and hit Enter. Great for when you want speed but don't have all the keyboard commands memorized.
I tend to use this when testing a new ticker I'm not familiar with. On AAPL or MSFT, I'll click-type my way through different intervals until something looks right.
Creating Custom Time Intervals
Why Custom Intervals Matter
TradingView's preset timeframes are great for most situations, but what if your trading strategy is a little different? Maybe you've noticed a pattern that plays out over 7 minutes, or your automated system is tuned for a 125-minute cycle. That's where custom intervals come in.
Think of it like this: while everyone else is looking at the same standard charts, you can create a view that fits your specific approach. It lets you see the market in a way that makes sense for your strategy, potentially spotting opportunities others might miss simply because they're using a different lens. If you're interested in building more advanced custom tools, our guide on Pine Script Writer: Crafting Custom TradingView Scripts can help you take your customization to the next level.
How to Add Custom Intervals
Adding your own timeframe is surprisingly straightforward. Here's how you do it:
- Look at the toolbar at the top of your chart and click on the time interval dropdown (it usually says something like "1D" for one day).
- Scroll all the way down in the menu that appears. You'll see an option that says "Add Custom Interval"—click on that.
- A small window will pop up. Type in the number for your desired timeframe (like 7, 125, or whatever you need).
- Next, choose the unit from the dropdown: minutes, hours, days, weeks, or months.
- Hit "Add," and you're done!
Your new custom interval will now be saved and appear in your main dropdown list for easy access anytime. You can even mark it as a favorite to find it with a single click.
What can go wrong: I've seen traders add too many custom intervals and clutter the dropdown so badly that they end up ignoring them. Pick one or two that genuinely match your strategy. Also, custom intervals outside standard multiples (like 7 minutes instead of 5) won't sync cleanly with indicators designed for conventional timeframes — I learned that the hard way when my moving averages started looking wrong on a 7-minute chart.
Preset Time Ranges and Their Default Intervals
TradingView makes it easy to jump to different time periods with its preset buttons. You've probably seen and used the 1D (one day), 5D (five days), 1M (one month), 3M (three months), 6M (six months), and YTD (year to date) options.
Here's how they work: when you click one of these buttons, TradingView does two things for you. It adjusts the overall date range you're looking at, and it also automatically sets what it thinks is the best chart interval to see the data clearly.
For example:
- Clicking "3M" will typically show you three months of price action, often with 1-hour candlesticks.
- Selecting "YTD" will display everything from the start of the year to now, usually with daily intervals.
This automation is handy, but it doesn't always match how you like to see the chart. A common point of confusion is the 1D button. It often defaults to a very detailed 1-minute interval, when you might prefer a broader view, like 15-minute candles, to reduce noise and see clearer patterns.
I ran into this myself last month when I clicked 1D on NVDA expecting to see daily candles and got a mess of 1-minute bars instead. Took me a second to realize what happened.
Best Practices for Using Different Timeframes
Matching Timeframes to Your Trading Strategy
Picking the right timeframe isn't just a technical detail—it's about matching the chart's speed to your own trading pace and personality. You wouldn't use a stopwatch to time a marathon, and the same logic applies here.
If you're a scalper, living in a world of quick, minute-by-minute moves, the 1-minute to 5-minute charts are your home. They let you see those rapid-fire price changes as they happen.
For day traders who open and close positions within a single day, the 5-minute to 15-minute intervals often feel just right. They provide enough detail without causing information overload.
Swing traders, who hold positions for several days or weeks to catch a trend, tend to find their sweet spot on the 1-hour to 4-hour charts. This perspective helps them see the bigger picture moves without getting distracted by every little bump.
And if you're a long-term investor, the daily, weekly, or monthly charts are your best friends. They effectively filter out all the short-term market "noise," allowing you to focus on the truly significant, sustained movements.
I prefer using daily charts for my portfolio holdings like VOO and SCHD, but I switch to 1-hour when I'm trading options on individual names. It's not one-size-fits-all, and I haven't found a single timeframe that works for every situation.
Multi-Timeframe Confirmation Strategy
One of the simplest yet most powerful habits you can develop is checking multiple timeframes before placing a trade. It's like getting a second opinion. Professional traders almost never rely on a single chart because it can give a misleading or incomplete picture.
A really solid method is to first figure out the overall market direction on a higher timeframe. For instance, take a look at the daily chart to answer the question, "What is the general trend?"
Once you have that big-picture view, you can then drop down to a lower timeframe—like a 15-minute or 1-hour chart—to find a precise and favorable entry point that works with that larger trend. When working with multiple timeframes in custom indicators, it's crucial to understand how to avoid repainting in Pine Script to ensure your signals remain reliable.

Let's say you see what looks like a promising breakout on a 5-minute chart. Before jumping in, a quick glance at the 4-hour or daily chart to confirm that the breakout is supported by the broader trend can dramatically increase your chances of success. This approach keeps you from fighting the market's main current and helps you time your moves more effectively. With tools like Pineify's multi-timeframe screener, you can scan multiple symbols and timeframes simultaneously to catch these confirmations early, making the process much more efficient.
Avoiding Common Timeframe Mistakes
It's easy to fall into a couple of common traps with timeframes, but being aware of them can save you a lot of frustration.
First is the alert mismatch. If your main trading chart is the 1-hour, but you have alerts set up on the 5-minute chart, you're going to be constantly bombarded with signals that are irrelevant to your strategy. This creates a lot of noise and can lead you to make impulsive decisions that don't align with your plan.
The second big mistake is ignoring the "boss" chart—the higher timeframe. Making a trade decision based solely on a signal from a low timeframe, without checking if it agrees with the trend on a higher chart, is a common reason for entering a trade too early. This often results in getting stopped out before the move even really begins.
I've made both these mistakes more times than I'd like to admit. The alert mismatch one is especially sneaky — you set up an alert weeks ago and forget which timeframe it's tied to, then wonder why you're getting pinged every five minutes.
Advanced Tips for Efficient Timeframe Management
Save Your Go-To Timeframes for Quick Access
To make your analysis smoother, TradingView lets you mark your favorite timeframes for instant access. Once you've added your preferred intervals to the list, you can drag and drop them to put the ones you use the most right at the top. It's like having a quick-access menu.
This is a real time-saver if you find yourself constantly switching between the same three or four charts—like the 5-minute, 15-minute, 1-hour, and daily views. It saves you from scrolling and searching, putting what you need right at your fingertips.
How Your Chart's Timeframe Affects Alert Behavior
The chart you have open doesn't just change your view; it completely changes how your alerts behave.
| If you use a... | You'll get... | Because... |
|---|---|---|
| Smaller timeframe (e.g., 1 or 5-minute) | More alerts, but more "noise" | The price jumps around constantly, triggering alerts easily. |
| Higher timeframe (e.g., 4-hour or Daily) | Fewer alerts, but they tend to be more meaningful | It takes a bigger, more significant move to trigger an alert. |
When you're setting up alerts, the golden rule is to match them to the chart you're making your main decisions on. And a pro tip? Try using a second, longer timeframe to confirm the alert. If your 15-minute chart gives a signal, but the 1-hour chart agrees, it's a much stronger case. This helps you avoid false alarms and trade with more confidence.
Common Questions About TradingView Timeframes
The quickest way to switch between time intervals? Keyboard shortcuts, no question. Just click your chart, type a number, and hit Enter. Fifteen-minute chart? Type 15 and Enter. Daily view? 1D. It takes under a second once you've practiced.
Can you create custom intervals? Yeah, TradingView doesn't lock you into presets. Click the timeframe dropdown, scroll to "Add Custom Interval," type what you need, pick the unit, and click Add. I've used a 7-minute custom interval for a specific scalping setup on QQQ, and it worked well — though I haven't tested it across enough tickers to say it's universally useful.
Your ideal timeframe depends on your trading style. Scalpers live on 1-5 minute charts. Day traders tend to use 5-15 minute. Swing traders prefer 1-4 hour. Long-term investors stick with daily, weekly, or monthly.
Why use multiple timeframes? Think of the higher timeframe as the highway map showing the overall direction, and the lower timeframe as the street-level view for your exact entry. Looking at both before a trade keeps you from making decisions that fight the trend.
And yes — clicking "1D" or "3M" does change your interval automatically. TradingView picks what it thinks fits the date range. You can always override it if the default doesn't match what you want.
Frequently Asked Questions
▶What is a time interval in TradingView?
A time interval, also called a timeframe, represents how much trading activity each candle or bar covers on your chart. For instance, a 5-minute interval means each candle shows everything that happened in a 5-minute window. TradingView supports intervals from 1 second all the way up to monthly.
▶How do I change the time interval in TradingView using keyboard shortcuts?
Click your chart to focus it, type the interval number, and hit Enter. Type 5 for a 5-minute chart, 60 for 1-hour, 1D for daily, 1W for weekly, and 1M for monthly. It's the fastest way and works without touching the mouse.
▶How do I add a custom time interval in TradingView?
Click the timeframe dropdown at the top left of your chart, scroll to the bottom, and select Add Custom Interval. Enter the number you want, choose the unit (minutes, hours, days, weeks, or months), then click Add. TradingView saves it to your dropdown for future use.
▶What timeframe is best for day trading on TradingView?
Most day traders work with 5-minute to 15-minute intervals as their main chart. It gives enough detail to spot intraday moves without getting noisy. Many combine a 15-minute chart for setup with a 1-hour chart for confirmation.
▶Does changing a preset range like 3M also change the chart interval?
Yes. Preset buttons like 1D, 3M, or YTD automatically pick what TradingView thinks is the best interval for that date range. You can always override it afterward if the default doesn't match your preference.
▶Why should I use multiple timeframes when trading?
Multiple timeframes help confirm your signals. The higher timeframe (like the daily) shows the dominant trend, while the lower timeframe (like 15-minute) gives you a precise entry. This alignment cuts down false signals and improves your timing.
▶Can I save favorite timeframes in TradingView for faster access?
Yes. After adding your intervals to the dropdown list, you can mark them as favorites. They appear at the top of the menu and you can reorder them by drag-and-drop, letting you switch between your most-used charts with one click.
Next Steps
Now that you're comfortable changing time intervals in TradingView, the real fun begins—figuring out how to make this skill work for your trading.
Start by playing around with different timeframes. There's no single "best" one; it's all about what fits your style. Do you prefer the bigger picture of a daily chart, or the faster pace of a 15-minute one? Try them out and see which ones make the most sense to you and give you the clearest read on the market. Once you find a rhythm that clicks, save those custom intervals as favorites. It's a simple step that saves you a ton of time when you're in the middle of a trading session.
To really sharpen your analysis, try using multiple timeframes together. A great way to start is by looking at a higher timeframe (like the 4-hour or daily chart) to understand the main trend. Then, zoom into a lower timeframe (like the 1-hour or 15-minute) to help pinpoint your entry. It's like looking at a map for the general direction before focusing on the specific turns.
And don't forget those keyboard shortcuts! Getting quick at switching between charts makes a huge difference when the market starts moving fast. Once you've mastered timeframes, you might want to explore how to backtest on TradingView: The Complete 2025 Guide That Actually Works to validate your multi-timeframe strategies.
I'd love to hear what you discover. What timeframes are you finding most useful? Have you stumbled upon any unique custom intervals that give you an edge? Drop your thoughts in the comments below and share with the community.
If you want more tips like this, you can join our newsletter. We share practical TradingView tricks, charting deep-dives, and trading ideas to help you keep improving.