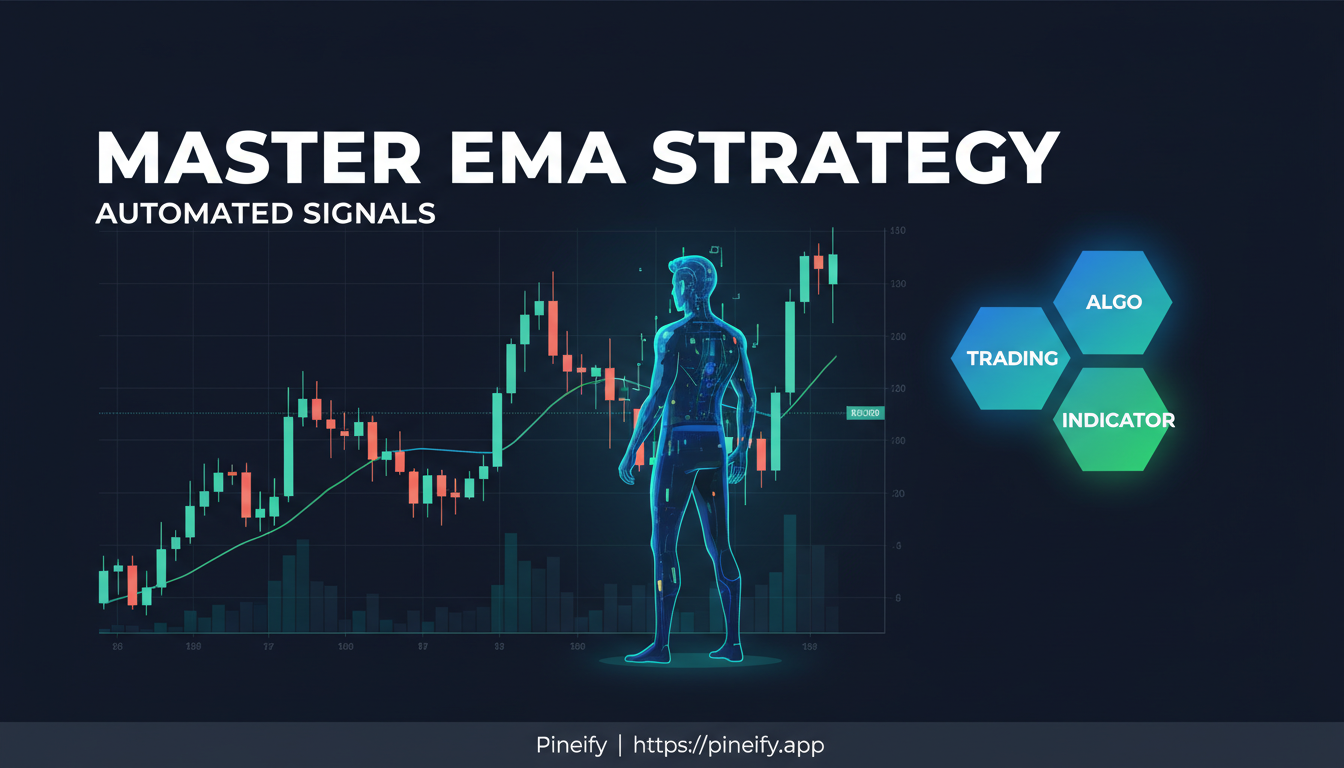
Pineify EMA Strategy: TradingView Guide for Automated Signals
I've been trading with the Pineify EMA Strategy for months, and it's the closest thing to an automated edge I've found on TradingView. The Pineify EMA Strategy is a multi-timeframe system built on three Exponential Moving Averages — short, medium, and long. It waits until all three align before generating a signal. No coding required.
How the Pineify EMA Strategy Works
Think of it as using three different lenses to look at the market. Each EMA timeframe tells you a different part of the story, and when they agree, the signal is stronger. This principle of using multiple confirmations is similar to how the TradingView Anchored VWAP indicator confirms entry zones with a single price benchmark.
| EMA Timeframe | What It Tells You | Its Role in Your Trade |
|---|---|---|
| Short-Term | The immediate momentum and current sentiment. | Great for pinpointing a potential entry point. |
| Medium-Term | The intermediate trend, helping separate real moves from market "noise." | Acts as a filter to confirm the short-term signal has staying power. |
| Long-Term | The overriding, big-picture market direction. | Keeps you on the right side of the major trend. |
Instead of reacting to every blip on the chart, this strategy waits for these three perspectives to line up. This alignment cuts down on false signals that happen when you only watch one indicator. By focusing on confirmed moves across timeframes, it helps you trade with the weight of the trend behind you. Properly tuned multi-EMA approaches are often far more effective than relying on a single average.
Finding Your EMA Setup: What Works for Different Trading Styles
Exponential Moving Averages work differently depending on your trading style. Here's what I've found works for each approach.
For Quick Trades: Scalping and Day Trading
If you're trading in and out of positions within minutes or hours, speed and clarity are everything. I've found the combination of 9 and 20-period EMAs works best for day trading SPY on the 5-minute chart.
The 9 EMA moves quickly with the price, helping you spot short-term momentum shifts for potential entries. The 20 EMA acts as your trend filter. It smooths out the noise and helps confirm whether that quick momentum has some strength behind it. On a 5-minute chart, this pair gives you timely signals while keeping you on the right side of the very short-term trend.
For Capturing Bigger Moves: Swing Trading Setup
Swing traders aim to hold positions for days or weeks, catching the "swings" within a larger trend. I prefer the 20 and 50-period EMA for swing trading. I haven't tested them on crypto yet, but on equities like AAPL and MSFT, they give clean entries.
The logic is straightforward: the faster 20 EMA crossing above the slower 50 EMA while the price is above both often signals the beginning of a meaningful upward swing. Because these EMAs don't react to every tiny price change, they help you stay in the trade for the meat of the move, with the averages themselves acting as dynamic areas of support or resistance for managing your risk.
Seeing the Bigger Picture: Multi-Timeframe Analysis
Looking at more than one timeframe at once separates amateurs from pros. Check if the trend on your short-term chart (like the 15-minute) agrees with the trend on a longer-term chart (like the 4-hour).
Some platforms, like Pineify, let you see EMAs from different timeframes on a single chart. When the EMAs are aligned and pointing in the same direction across multiple timeframes — say, the price is above the 20 EMA on both your 1-hour and daily chart — it creates a high-probability "confluence" zone. The short-term momentum and the longer-term trend are working together, which can lead to stronger, more reliable trade setups.
Building Your First EMA Strategy with Pineify
Getting started with a moving average strategy on Pineify is straightforward, even if you've never written a line of code. The system is built around a visual editor where you connect ideas like building blocks. You can lay out your entire trading plan — when you get in, when you get out, and how you protect your money — all in a clear, visual way.
A classic first strategy to try uses two Exponential Moving Averages (EMAs):
- The Signal: A faster-moving average (like the 20-day EMA) crosses above a slower one (like the 50-day EMA). This crossover signals a potential shift in momentum to the upside.
- The Entry: That crossover becomes your signal to place a buy order.
- The Exit Plan: Set your safety nets immediately. You might decide to take profit when the price moves 1.3 times your entry price. At the same time, set a stop-loss to exit if the trade goes against you — for instance, 20 pips below the slower 50 EMA.
The real power comes from testing this idea before you use real money. Pineify's strategy builder lets you run your EMA setup against years of past market data. You can see how it would have performed in different markets — during calm trends or volatile swings. This backtesting helps you answer important questions: Are those EMA periods (20 and 50) the best choice? Should your profit target or stop-loss be adjusted?
By tweaking and testing, you can refine your rules to find a balance between risk and potential reward that feels right, all without any financial risk. It's a practical way to build confidence in your strategy, much like learning the foundational principles of understanding ADX to measure trend strength like a pro.
How Seasoned Traders Add Extra Confidence to Their EMA Signals
Even a solid strategy like trading EMA crossovers can be improved. The pros add a few extra checks to their process. Think of it like looking both ways before crossing a street — the green light (the EMA signal) is good, but you still double-check for traffic. These checks filter out misleading signals and pinpoint the ones with higher odds of working out.
Here are common ways traders add this extra layer of safety:
| Confirmation Technique | What It Does | Why It Helps |
|---|---|---|
| Volume Check | Looks for higher-than-usual trading volume when the EMAs cross. | Separates real conviction from weak, false moves. A strong move should have a crowd behind it. |
| RSI Momentum Check | Uses the RSI indicator to see if the market is overextended. | Helps avoid buying when everyone's already bought (overbought) or selling when everyone's already sold (oversold). |
| Support & Resistance Confluence | Waits for the EMA signal to happen near a key chart level. | Signals that align with historic price levels are often much more powerful. |
| Candle Pattern Watch | Observes the individual candlesticks forming at the crossover point. | Looks for patterns like a bullish engulfing or a hammer, which show a clear shift in pressure at the trigger moment. |
Using just one of these can improve your results. Combining two or more builds real confidence in your entries. It's about waiting for the trades where more pieces of the puzzle fit together.
Stacking two or three confirmations before entering filters out most of the bad signals. You can run through the checklist manually, or you can bundle the rules into an automated indicator. Pineify's visual editor handles that — set up your EMA crossover, add a volume threshold and an RSI range, and the system evaluates everything at once. Saves me a few minutes per trade, and I don't forget a step when the market is moving fast.

The Non-Negotiable Skill Every Trader Needs
Let me be blunt: the biggest difference between traders who last and those who burn out isn't a secret indicator — it's how they handle risk. Think of risk management as the seatbelt for your trading account. You might not need it on every single drive, but when you do, it's what keeps you in the game. The Pineify EMA Strategy builds this protection right into its core.
The first and most crucial step is knowing exactly where you'll get out if a trade goes against you. I set my initial stop-loss either 20 pips below the 50 EMA or at the most recent swing low, whichever makes more chart sense. This isn't a random number — it's a logical line that says, "My original idea for this trade is now wrong."
Locking in Your Safety Net
Once a trade starts working in your favor and reaches a profit that's three times the amount you initially risked (a 3:1 risk-to-reward), move your stop-loss to your entry price. This creates a break-even stop.
- What it means: You've turned off the risk of losing money on that trade.
- Why it matters: You can breathe. The market can retrace, chop around, or do anything — and the worst case is you walk away flat. Your winning trade has room to potentially run much further.
Aiming for Quality, Not Just Quantity
Set realistic and disciplined profit targets. For this strategy to work over many trades, aim for a minimum 3:1 risk-to-reward ratio on every setup. Risk $50, look for $150 profit.
On high-conviction trades, more experienced traders stretch for ratios of 5:1 or even 10:1. Your potential reward should always be significantly larger than the risk you're taking. That's how you can be wrong half the time and still come out ahead.
Using the EMA Ribbon to See the Trend's Shape
The EMA Ribbon shows the trend's strength and direction at a glance. Instead of relying on one or two moving averages, we plot several together — like the 5, 8, 13, 21, and 34-period EMAs. On the chart, this creates a colored band that makes the market's behavior much clearer.
Here's how to read it:
- When the ribbon fans out and expands, with faster EMAs (5 and 8) pulling away from slower ones (21 and 34), it shows a strong, healthy trend. This is a great environment for following that trend.
- When the ribbon squeezes together, with all the lines getting tight and tangled, the market is likely chopping sideways. During these times, trend-based strategies tend to struggle.
The ribbon also acts as dynamic support or resistance. In a strong uptrend, the price often dips back to touch the top of the ribbon before bouncing higher. In a downtrend, it rallies up to the bottom of the ribbon before falling again. Some of the most reliable entries happen on these pullbacks.
I've had good results with Bitcoin (BTCUSD) on the 4-hour chart using the EMA ribbon. It smooths out short-term noise while still catching the major price swings.
How Do These EMA Strategies Actually Perform?
Ever wondered if tweaking those EMA settings is worth the effort? I ran years of simulated trades comparing the classic crossover to standard "buy and hold." The results are clear: fine-tuning your EMAs consistently comes out on top.
I tested the standard 50-day and 200-day EMA crossover on Apple (AAPL) using daily data from 2022 through 2024. It delivered roughly a 196% return. But here's where it gets interesting. By using Pineify's optimizer to find the best EMA periods for a specific stock or crypto — not just the default ones — the performance can skyrocket. In some cases, optimized parameters delivered returns over ten times better than the standard setup.
| Strategy Type | Approximate Return | Key Difference |
|---|---|---|
| Standard 50/200 EMA Crossover | ~196% | Uses common, one-size-fits-all settings. |
| AI-Optimized EMA Parameters | 10x+ Higher | EMA periods are custom-tuned for the asset. |
Pineify's built-in tools let you quickly test hundreds of different fast and slow EMA combinations to find what works uniquely well for the asset you're trading. This type of systematic analysis is a key part of a TradingView subscription offer that provides access to advanced backtesting features.
When reviewing these results, I don't just look at total returns. A crucial metric is the Sortino Ratio. Unlike other measures that consider all price swings, the Sortino Ratio only penalizes the bad volatility — the drops that hurt your portfolio. It gives you a much clearer picture of whether the strategy's returns are worth the real risk you're taking.
Common Mistakes to Avoid When Using EMA Strategies
We've all been there — excited to try a new trading tool, only to stumble over the same pitfalls everyone else does. A few common errors trip up almost every new trader. Recognizing them saves a lot of frustration.
Fighting the Trend The biggest mistake is going against the market's current direction. It's tempting to try and catch a reversal right at the top or bottom, but EMAs work best when they confirm a trend, not predict a turn. Wait for the EMAs to stack up and show a clear change in direction.
Skipping Risk Management This is the quiet account-killer. A brilliant strategy with perfect signals still fails if you bet too much on any single trade. Never risk more than 1-2% of your total trading capital on one trade. Stick to this no matter how "sure" a setup feels.
Over-Optimizing the Past It's easy to fall into this trap. You tweak your EMA settings back and forth on old data until the strategy looks perfect on the charts. But that often creates a system too tailored to past market noise that falls apart in real trading. I've done this myself — I spent two weeks optimizing a TSLA strategy on 2023 data only to watch it fail in live trading. Your goal is a strategy that works going forward, not one that only worked on yesterday's data.
Questions and Answers
Q: I'm still learning. What makes the Pineify EMA Strategy easier than manual EMA trading?
A: It automates the boring part. Instead of staring at charts waiting for crossovers, you set your rules once and Pineify spots the signals for you. You also get to test your idea against years of data in minutes — that's how you learn what works without losing real money. The alerts mean you can walk away and still catch the trade.
Q: I'm just starting out. Which EMA settings should I try first?
A: Start with a 20-period and a 50-period EMA on the daily or 4-hour chart. These filter out the noise and give you clearer signals. The longer timeframes give you more time to think rather than react. Once you're comfortable, add shorter EMAs or switch to faster charts.
Q: How do I know when to trade this strategy and when to sit out?
A: EMA strategies work best in trending markets. Look for EMAs fanned out and sloping the same direction — that's a green light. Skip it when the EMAs are tangled and the price is weaving through them. That's a choppy market, and false signals are much more likely there.
Q: Does this work for Bitcoin and Ethereum?
A: Yes. I use the 4-hour chart for crypto — it balances signal quality with timeliness. The automated alerts are a lifesaver since crypto trades 24/7. Multi-timeframe analysis helps catch false breakouts. You'll want the right TradingView subscription plan to access the features you need.
Q: How long does backtesting take?
A: A standard test runs through years of data in a few minutes. You'll want at least 2-3 years to cover strong trends, ranging markets, and high-volatility environments. The optimizer takes longer — testing hundreds of EMA combinations from 10 to 30 might take 15-30 minutes depending on complexity. A single crossover check is almost instant.
Your First Moves with the Pineify EMA Strategy
Head over to TradingView and create a free account. Open the Pineify visual editor — it lets you build strategies without writing code. Set up the classic 20-period and 50-period EMA crossover system. Play with this in a demo account for a few weeks. This lets you get a feel for the signals and practice managing risk, all without touching your real money.
Search the TradingView community for published Pineify EMA strategies to see how more experienced traders have set things up and what their results have been.
Keep a simple trading journal. Write down each trade. Don't just log the profit or loss — note how you felt and why you made the decision. Over time, you'll spot your own patterns, both good and bad.
Try a 30-day challenge. Focus on backtesting at least three different EMA settings (like a 9/30 crossover or a 12/26). See how each performs on different charts and timeframes. This hands-on experiment shows you which configuration fits your trading style.
| Practice Phase Focus | Key Activity | Goal |
|---|---|---|
| Weeks 1-2 | Demo trade the classic 20/50 EMA crossover | Build comfort with signals & risk |
| Weeks 3-4 | Join the community & maintain a trading journal | Learn from others & self-reflect |
| Month 2 | Complete the 30-day backtesting challenge | Discover your optimal settings |
Finally, set up price alerts. Choose 5 to 10 different assets and create alerts for your chosen EMA crossover signals. When the alert pops up, look at the chart and assess the setup. This trains you to recognize good opportunities without the pressure of having money on the line.