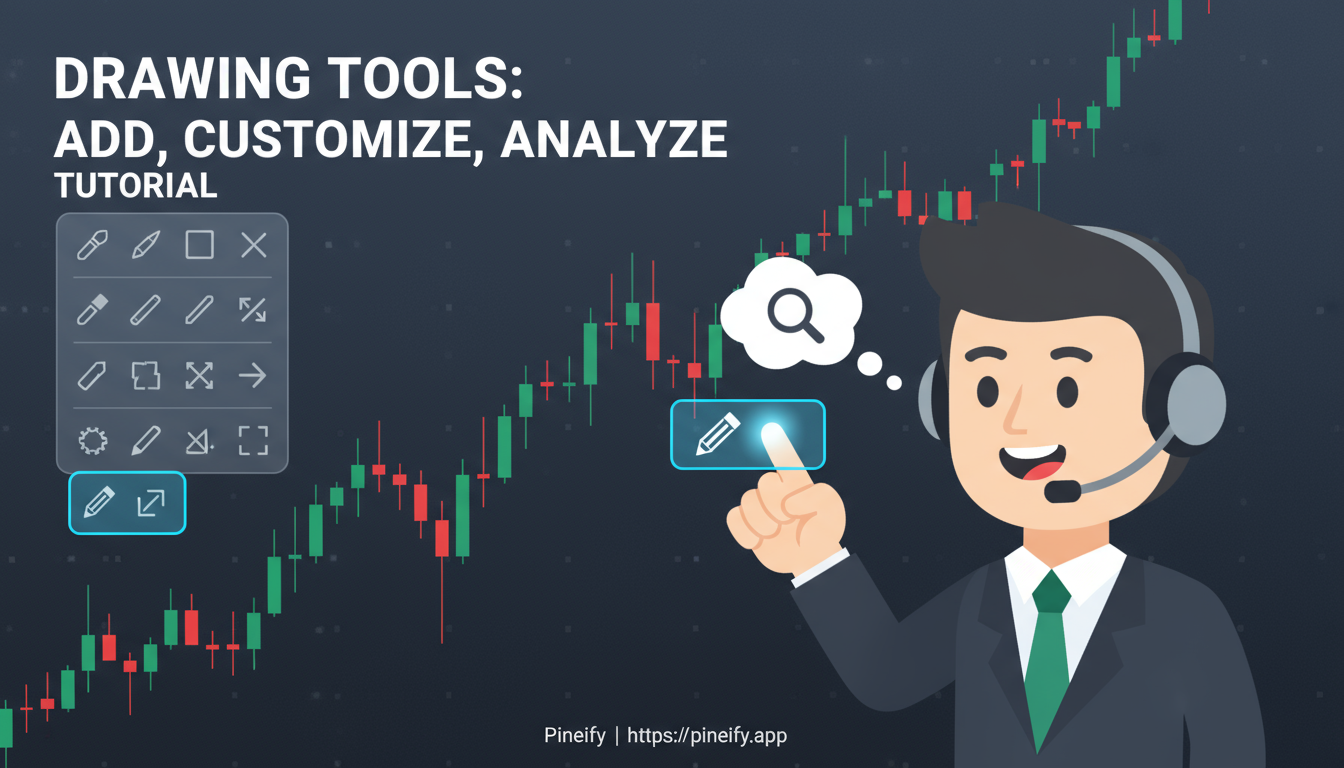
How to Add Drawing Tools in TradingView
TradingView drawing tools are interactive overlays you add to price charts for technical analysis and trade planning. They include trend lines, Fibonacci retracements, geometric shapes, and text annotations -- each designed to mark specific price levels, patterns, or events directly on the chart.
About six months ago I started tracking how often price respected my drawn levels on SPY. I found that roughly 40% of my lines got touched before a reversal, which is why I now pair drawing tools with a confirmation signal. You don't need to be that obsessive about it, but a little attention to your drawing habits pays off.
What Are Drawing Tools in TradingView?
TradingView's drawing tools are a collection of overlays for marking up price charts. They don't modify the underlying data -- they sit on top so you can highlight key levels, visualize patterns, and plan trades. The range covers everything from a basic straight line to complex tools like Fibonacci retracements and pitchforks.
With these tools you can:
- Mark historical price levels the market has reacted to before.
- Trace trend channels that show direction and momentum.
- Project potential trade targets.
- Add notes about fundamental events.
The tools are grouped into categories so you can find what you need quickly:
| Category | What It's For | Common Examples |
|---|---|---|
| Trend Lines | Spotting the direction and strength of a trend. | Simple line, Ray, Horizontal Line |
| Geometric Shapes | Highlighting patterns or specific areas. | Rectangle, Ellipse, Triangle |
| Measurement Tools | Gauging distance or projecting moves. | Fibonacci tools, Pitchfork, Parallel Channel |
Every tool is interactive. You're not placing a static image -- you can adjust, move, and extend drawings in real time as price moves. This matters most in fast-moving markets where a level can break and reform within minutes.
I've found that marking my plan visually makes me less likely to trade on impulse. When the levels are right there on the chart, I stick to them better. If you're new to TradingView, spending ten minutes clicking through each tool category will save you hours of confusion later.
Finding Your Way Around the Drawing Tools
You'll find all the drawing tools in a vertical toolbar on the left side of any TradingView chart. In the default layout it's always visible. If you see a thin sidebar, click the arrow icon to expand it.
The tools are grouped into collapsible sections. Hover over any icon to see its name -- useful when you're hunting for something like the Gann Fan and don't remember which category it lives in.
| Tool Category | What You'll Find Inside |
|---|---|
| Trend Line Tools | Lines, rays, horizontal and vertical lines. |
| Fibonacci Tools | Retracement, extension, and time zone tools. |
| Geometric Shapes | Rectangles, circles, and triangles. |
| Annotation Tools | Text boxes, arrows, and emojis. |
On mobile, tap the chart settings menu (the three lines or pencil icon) to open the tools drawer. Pinch to zoom before placing your drawing -- I learned this the hard way after placing a dozen off-center lines on my phone screen.
Right-click the toolbar to customize which tools show up or sync favorites across your layout. Premium plans open extra tools like auto-Fibonacci and pitchfork variations.
One thing that tripped me up at first: the toolbar can feel cramped on a smaller screen. If you can't find a tool, try undocking the toolbar or switching to a larger monitor. I use a 27-inch display for charting and still collapse rarely-used categories.
Step-by-Step Guide to Adding Basic Drawing Tools
The process for adding any drawing tool is nearly identical. Once you learn one, you've learned most of them. Here are the common ones.
Adding Trend Lines and Channels
Trend lines connect price points to show trend direction.
Click the Trend Line icon on the left toolbar. Move your cursor to the chart, click on a significant swing low or high, drag to a second point, and release. The line snaps into place and extends in both directions by default.
Why this works: connecting two or more swing points reveals the market's slope. If price keeps bouncing off the same angled line, the market is respecting that trend.
What can go wrong: drawing trend lines on a too-dense timeframe. On a 1-minute chart during high volatility, your line might connect noise rather than structure. I usually start on the 1-hour or 4-hour chart for reliable trend lines.
For channels, use the Parallel Channel tool. Click two points to draw the main trend line, then a third to set the channel width. This creates a price envelope for spotting bounces and breakouts.
- Click the Trend Line icon on the left panel.
- Place your cursor on a starting price point and left-click.
- Drag to your endpoint and click to anchor.
- Extend or shorten by dragging the control points.
Enable "Ray" mode in the settings to project the line forward indefinitely. I use this for spotting where a trend might reach next.
Incorporating Geometric Shapes and Annotations
Shapes highlight areas of interest like consolidation zones before a breakout.
Open the "Geometric Shapes" category and pick a tool, say "Rectangle." Click and drag on the chart to draw a box around your area. Once placed, make the fill color transparent so it doesn't block the price data.
Annotations are for leaving yourself notes. The Callout tool lets you type a note and point an arrow at a specific bar. I mark earnings dates and economic releases this way.
- Open the Geometric Shapes category.
- Pick a shape (Ellipse works for rounding tops).
- Click and drag to draw.
- Adjust fill opacity in the style menu.
What can go wrong: overlapping shapes create visual noise. I limit myself to three active shape annotations per chart. Beyond that it's hard to tell what I'm actually tracking.
Using Fibonacci and Measurement Tools
Fibonacci retracement is one of the few tools I trust for pullback levels. Select it from the toolbar, click a significant swing high, and drag to the corresponding swing low (or reverse). Key levels like 38.2% and 61.8% appear automatically.
When I tested Fibonacci on BTC/USD last summer, the 61.8% level held three consecutive times before the breakout north. I still reference that trade when I need to remind myself the tool works -- but only when drawn correctly.
Measurement tools like "Price Range" show the exact distance between two points. This helps with position sizing and risk planning.
- Find the Fibonacci Tools in the panel.
- Click and drag from one extreme price point to another.
- Add or adjust retracement levels in settings.
- Use measurement tools for volatility readings.
Quick trick: hold Shift while drawing to reverse the direction if you start from the wrong point.
The limitation: Fibonacci levels are projections, not guarantees. I've drawn plenty of retracements that got obliterated the next bar. They work best as zones, not exact lines.
Making Your Drawings Work for You
Once you've placed a drawing, right-click to open the quick menu. Select "Settings" to adjust line thickness, color, or pattern. Want a dashed line with semi-transparent fill? It's in there. You can even set alerts that fire when price touches your drawn line.
Keeping things organized matters when your chart gets busy. Hold Ctrl while clicking multiple drawings, then right-click and select "Group." This bundles them together so you can hide or show them as a set. For full control, use the Object Tree -- find it in the right-click menu to hide, lock, or delete any drawing without touching the others.
I run into trouble when drawings pile up across multiple tabs. The Object Tree is the only sane way to clean that up.
Love a particular setup? Select all your drawings and save as a template. Next time you load a different stock, apply that template instantly. If you use a multi-chart layout, turn on "Sync Drawings" in chart properties to keep levels consistent across panels.
I haven't tested template syncing across devices yet -- it's supposed to work but I mostly stick to desktop.
- Right-click drawing > Settings > Style tab for visuals.
- Use Object Tree to toggle visibility.
- Save as template: Select > Save Drawing Template.
- Enable alerts: Tools > Add Alert on Object.
Free plan handles most of this. Premium adds tool-specific extras and automatic syncing.
Advanced Tips for Pro-Level Usage
The real value comes from combining drawing tools with other data. Don't just draw a trend line in isolation -- check if it lines up with a moving average or a volume profile level. If the RSI shows divergence, draw a trend channel over the RSI pane itself to confirm the signal.
Shortcuts speed this up. Alt+T starts a trend line. Alt+R fires up Fibonacci. I'd guess I save about 15 seconds per drawing this way -- doesn't sound like much until you're placing thirty of them.
The Auto Trend Line detects and draws lines for you. I haven't used it much; I prefer manual drawing because I catch false signals earlier. In jumpy markets the Date Range tool lets you box off a specific event-driven move, which is useful for focusing on one catalyst at a time.
For automated drawings, Pine Script lets you draw lines based on custom conditions. You can build indicators in Pineify without writing code -- their visual builder and AI handle the script generation.

On mobile, long-press to select a tool, swipe to adjust position. It works but I still prefer desktop for anything beyond a quick horizontal line.
I keep a simple journal of why I drew each line and whether price respected it. That feedback loop has been more valuable than any tool upgrade. After a few months I noticed I was drawing fewer lines and getting better results.
Avoid over-drawing your chart. I cap myself at 5-7 active drawings per chart. Clutter clouds judgment.
- Look for Confluence: Combine your drawings with indicators for stronger signals.
- Use Shortcuts:
Alt + [Letter]to draw faster. - Consider Automation: Use Pine Script for dynamic, condition-based drawings.
- Review Your Trades: Journal your drawing-based trades to see what's working.
▶
The panel sits on the left sidebar. If it's missing, you're probably in the screener view instead of the full chart -- just click the chart icon. On mobile, tap the icon at the bottom of the screen. I've accidentally opened the screener more times than I'd like to admit.
▶
Click the drawing and hit Delete. Or right-click and choose Remove. If you delete the wrong one, Ctrl+Z (Cmd+Z on Mac) undoes it. For batch cleanups the Object Tree lets you select multiple drawings at once.
▶
Yes -- open the Settings menu, go to the Color tab, and pick from the palette or enter a hex code. You can save your style as the default so every new drawing looks consistent.
▶
The basic set is free for everyone. Advanced tools like Elliott Waves need a Pro or higher plan. Whatever you get on desktop carries over to mobile -- I haven't found any desktop-only tools on the free plan, but some premium ones like auto-Fibonacci are locked.
▶
Yes. Publishing a chart or sharing a link includes all your drawings. You can also export as an image or PDF. Your entire setup can be saved as a template for use on another chart or device.
Start Drawing on Your Charts
Pull up a TradingView chart and pick a symbol like EUR/USD. Draw one trend line along the recent highs. That single line will tell you more about the current bias than any indicator alone.
Share your annotated charts in the TradingView community forums for feedback. It's one of the best ways to sharpen your skills. Here's a quick reference for common tools:
| Tool | Best For |
|---|---|
| Trend Lines | Identifying trend direction and slope. |
| Support & Resistance | Spotting key price levels where the market might pause or reverse. |
| Fibonacci Retracement | Finding pullback levels within a larger trend. |
When you're ready to upgrade, paid plans open more advanced tools and indicators per chart. You can check current TradingView discount codes to make premium features more affordable.
Review your saved layouts at the end of each week. I look back at my old drawings every Friday afternoon -- it shows me what I got right, what I missed, and how my thinking has changed. If you want to go deeper, the Range Filter Indicator pairs well with drawing tools for cleaner entries.
If you're looking to automate your analysis, consider the best Pine Script course for building custom indicators and scripts.